Project: Screenshot diary

So to try something new, I’ll write about a little scripting project you can try for laughs and learning. If you find this too basic, you can browse the “Advanced Linux-related things” category (and there’s an RSS feed for just those posts as well).

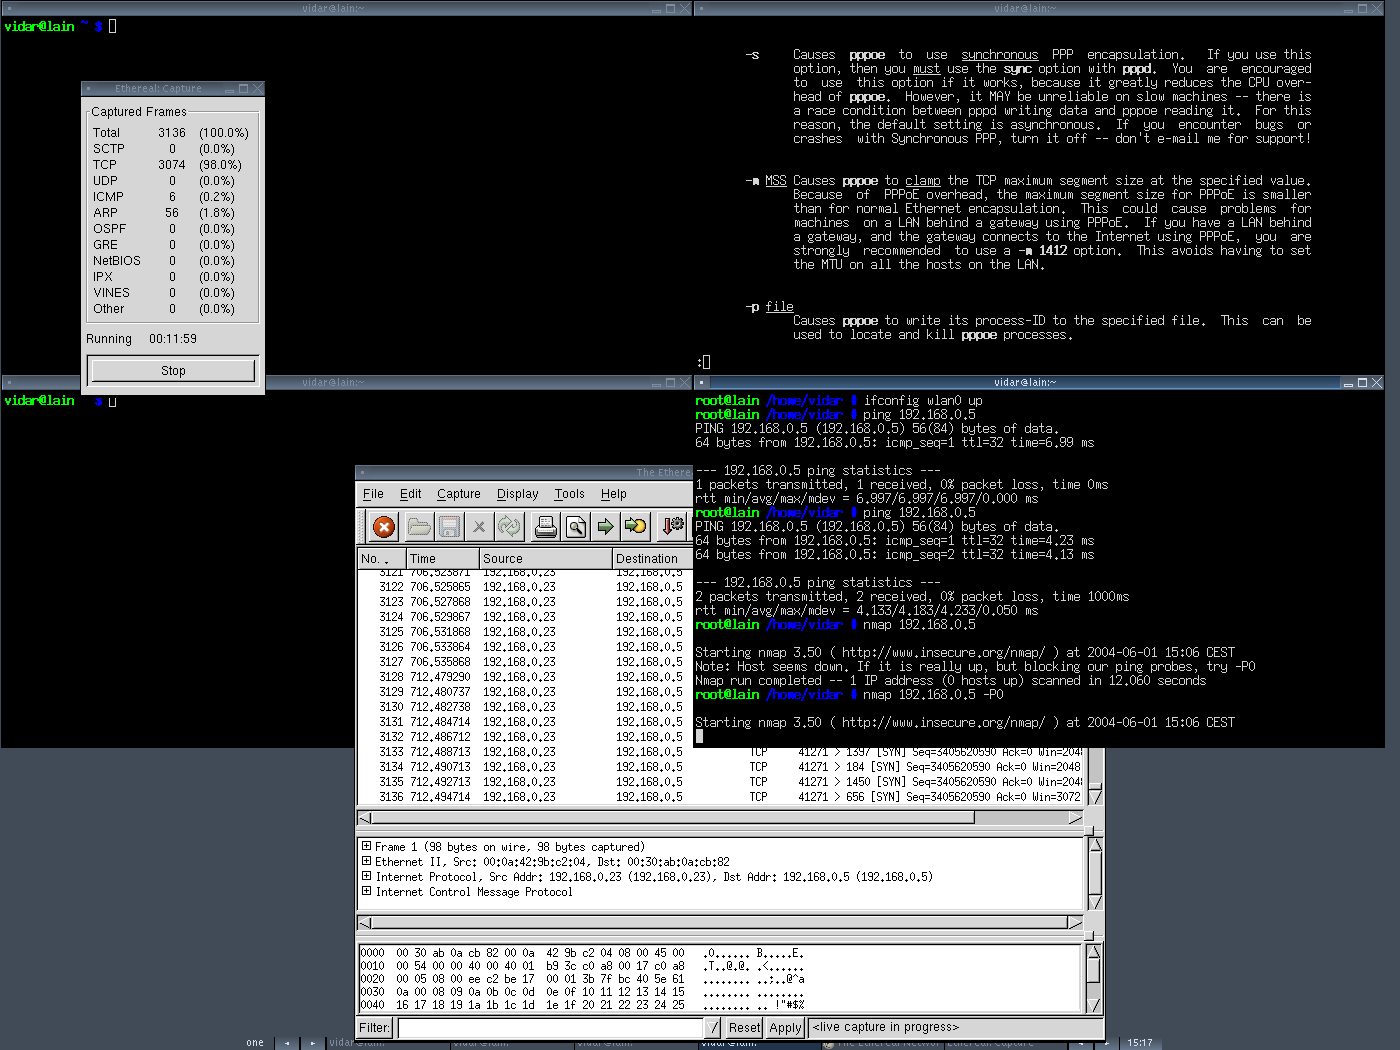
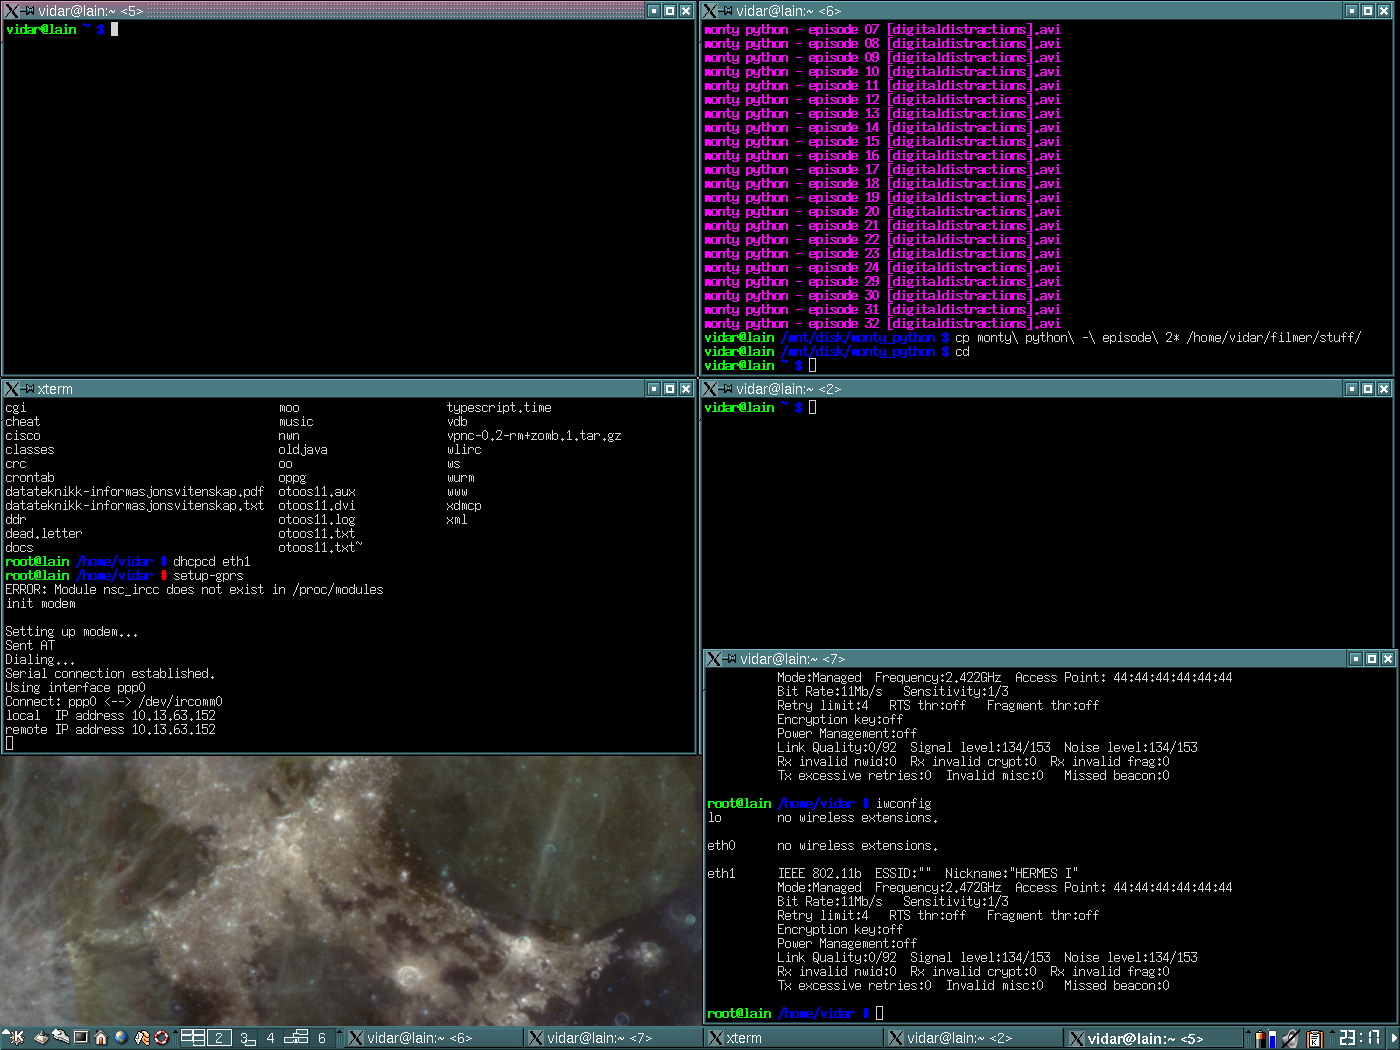
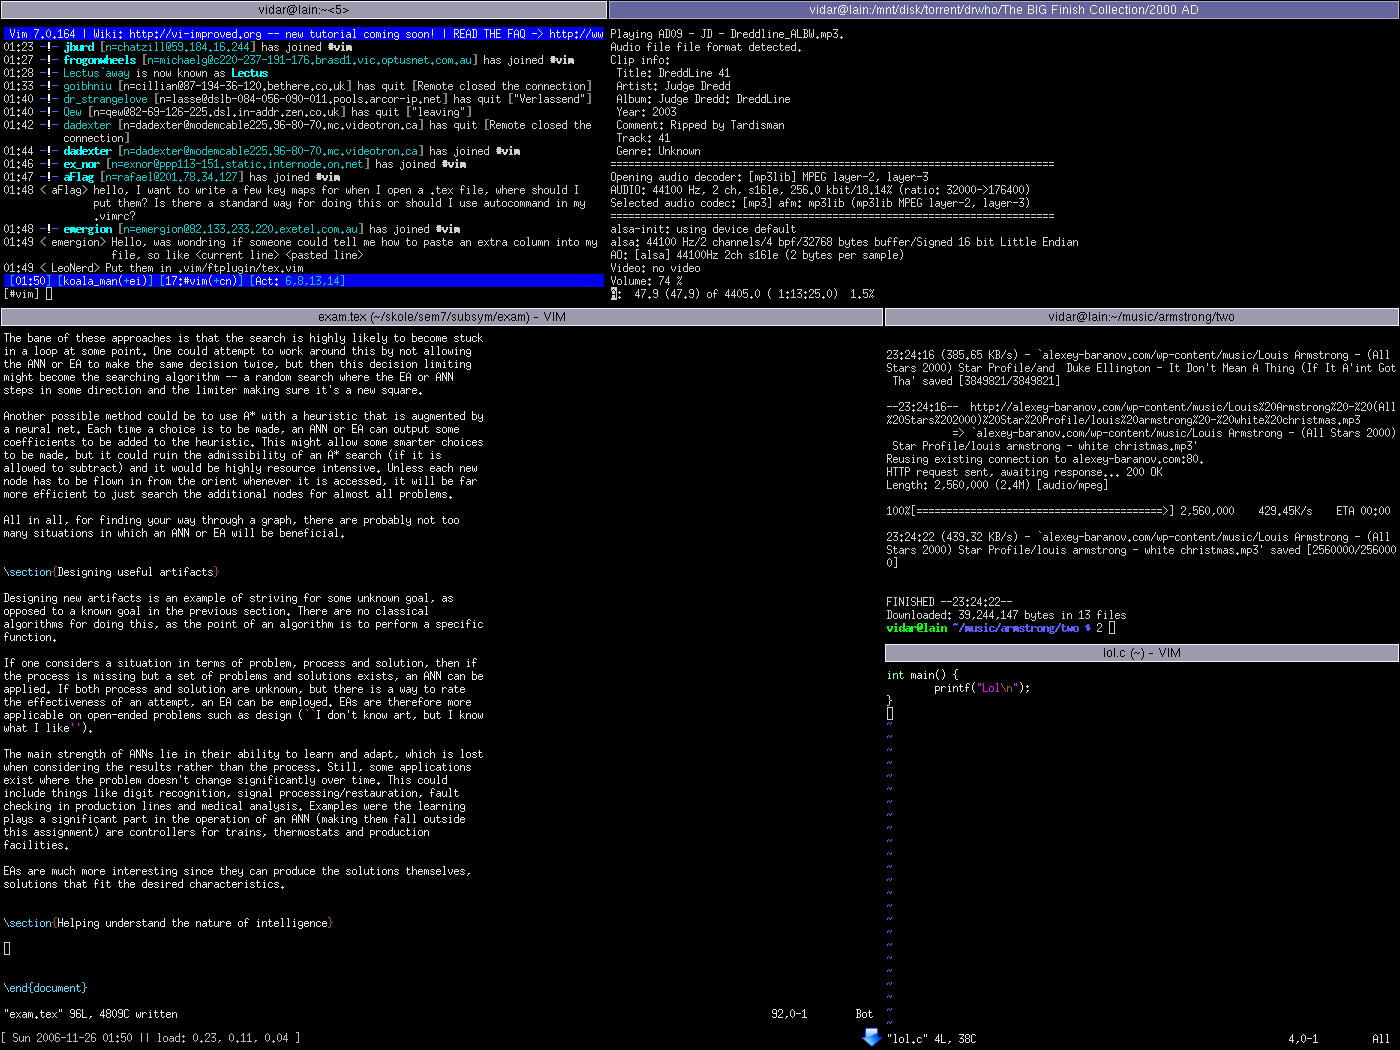
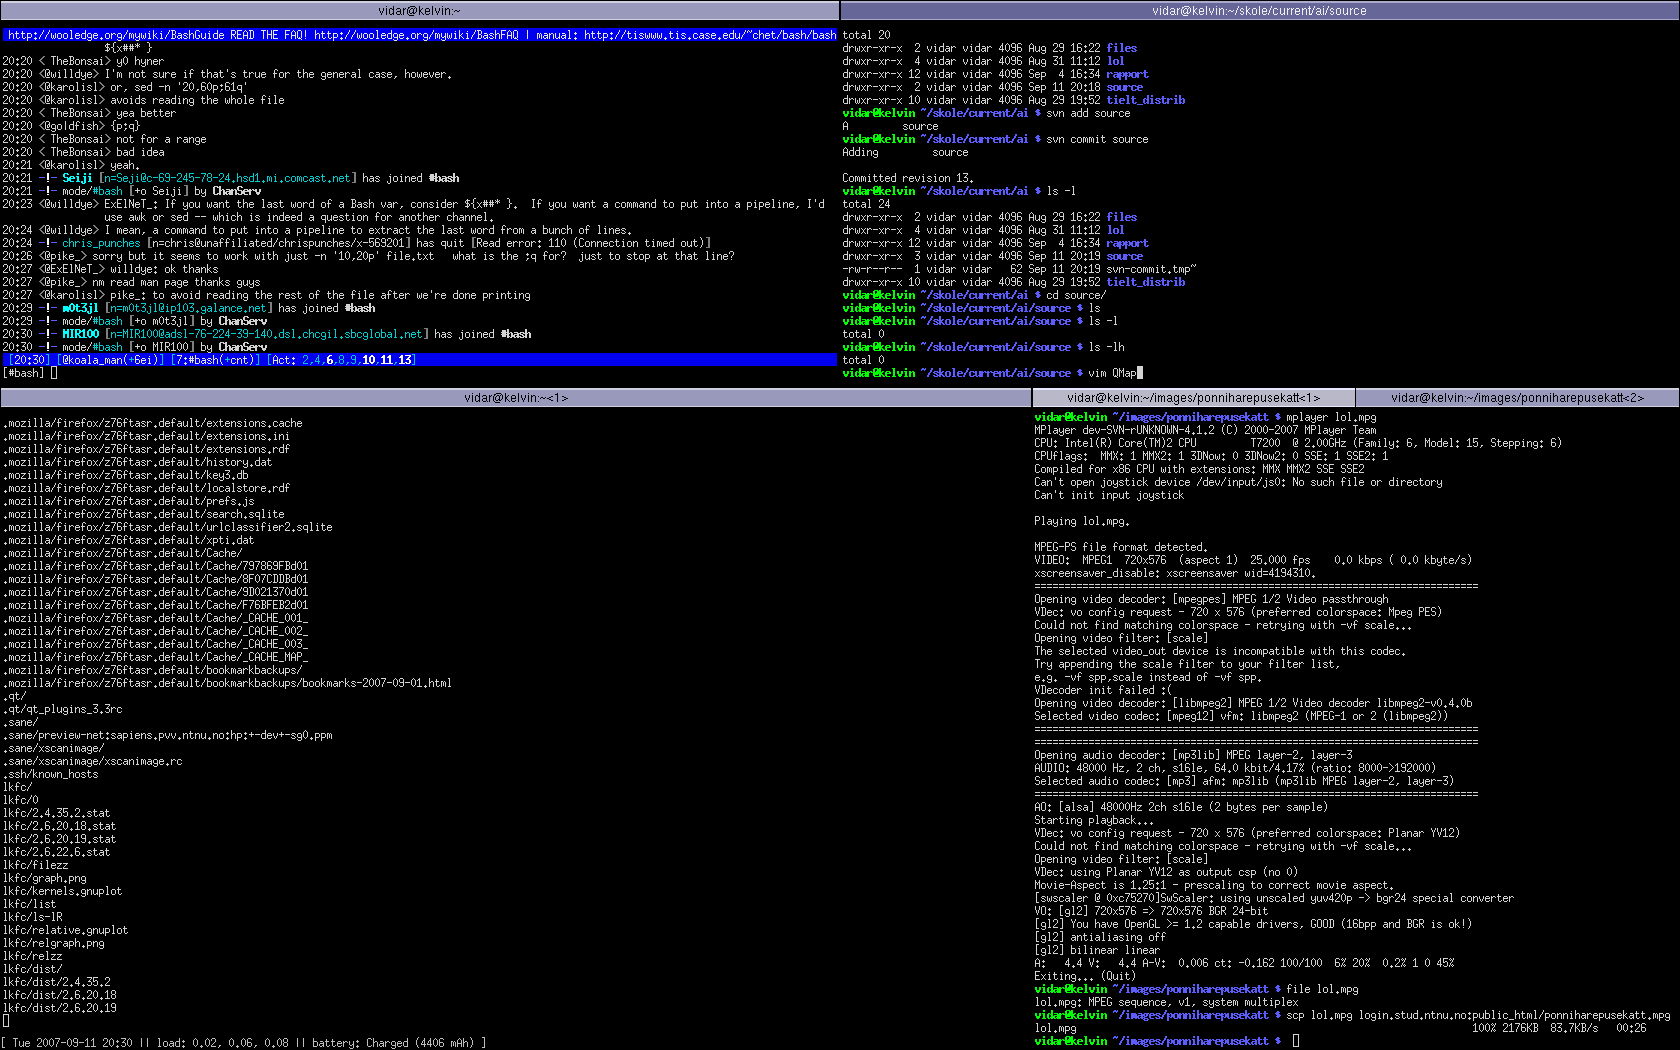
Now, if you know that someone is taking your picture, you try to smile and look natural (but invariably fail, with a strained smile and rigid pose as if you were caught grave robbing). The equivalent in screenshots is to either close all your apps (if you like your background image) or run a bunch of random ones (if you don’t), and then opening the program menu two or three levels. Judging from most screenshots you see, people are constantly contemplating which of their many lovely apps to run next:
Screenshot just as described Screenshot just as described Screenshot just as described

How about this for an idea: Take a new screenshot at random intervals while you actually use the desktop.

Not only do you always have a natural looking screenshot if anyone should ask, but you get basically a little timelapse of your activity. I set up such a system in 2004, and it’s more fun than it should be to flip through them all!

To do this, we’ll make a script and stick it in the crontab. Since cron can only run things at fixed intervals, we’ll use short intervals and make the script randomly choose if it should take a screenshot or not. When it does, it’ll put it with a timestamp into some directory.

Open ~/bin/takeshot. First the shebang, and in 99 out of 100 cases, we’ll just exit:

#!/bin/bash 

if (( RANDOM % 100 ))   
then
	exit 0
fi

Let’s define a good place for our screenshots:

directory=~/screenshots

Since the crontab runs independently of our X11 session, we have to specify which display to use. :0 is the first display, which on a single user box is probably the only one:

export DISPLAY=:0

While the screensavers are very nice, I don’t really want screenshots of them. Xscreensaver comes with a tool that can be used to check if the screen is currently blanked. For simplicity we use the short-hand && notation rather than a full if statement:

xscreensaver-command -cycle 2>&1 | grep -q 'cycling' && exit 0

This only works for xscreensaver, not for other screen saver packages such as xlock or the KDE screensavers. Feel free to skip.

Now let’s create the output directory if it doesn’t exist, and define the filename to use:

mkdir -p "$directory"
output="${directory}/shot$(date +%Y%m%d%H%M%S).png"

This gives us a filename with the current date and time, such as ~/screenshots/shot20090314232310.png.

Now to actually take the screenshot. There are tons of utilities for this, but the two main ones are ‘import’ from ImageMagick; and xwd (from X.org) plus NetPBM to convert it. Import is simpler to use, but I’m a fan of NetPBM for its modularity. Plus NetPBM produces png files that are half the size of ImageMagick’s. Here are both ways:

# Using ImageMagick 
import -win root "$output"
## NetPBM Alternative: 
# xwd -root | anytopnm | pnmtopng > "$output"

Now chmod +x ~/bin/takeshot and try running it a few times (you might want to temporarily delete the zeroes in “100” to speed things up). Check that the screenshots are there.

Now add it to cron. Run crontab -e and add

*/10 * * * * ~/bin/takeshot &> /dev/null

Save and exit whichever editor crontab -e invoked for you.

The script should now be taking a screenshot on average every 100*10 minutes, or 17 hours of actual use time. You can adjust either factor up and down (or make an even more clever scheme) to get more or less screenshots.

To summarise the script:

#!/bin/bash 

if (( RANDOM % 100 ))   
then
	exit 0
fi
directory=~/screenshots
export DISPLAY=:0

xscreensaver-command -cycle 2>&1 | grep -q 'cycling' && exit 0

mkdir -p "$directory"
output="${directory}/shot$(date +%Y%m%d%H%M%S).png"

# Using ImageMagick 
import -win root "$output"
## NetPBM Alternative: 
# xwd -root | anytopnm | pnmtopng > "$output"

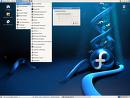
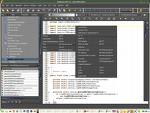
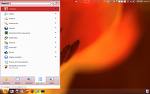
Here are some random screenshots of mine from different years and wms:

Bunch of terminals in Fluxbox Bunch of terminals in KDE Bunch of terminals in Ion3 Bunch of terminals in Ion3, now widescreen

Multithreading for performance in shell scripts

Now that everyone and their grandmother have at least two cores, you can double the efficiency by distributing the workload. However, multithreading support in pure shell scripts is terrible, even though you often do things that can take a while, like encoding a bunch of chip tunes to ogg vorbis:

mkdir ogg
for file in *.mod
do
	xmp -d wav -o - "$file" | oggenc -q 3 -o "ogg/$file.ogg"
done

This is exactly the kind of operation that is conceptually trivial to parallelize, but not obvious to implement in a shell script. Sure, you could run them all in the background and wait for them, but that will give you a load average equal to the number of files. Not fun when there are hundreds of files.

You can run two (or however many) in the background, wait and then start two more, but that’ll give terrible performance when the jobs aren’t of roughly equal length, since at the end, the longest running job will be blocking the other eager cores.

Instead of listing ways that won’t work, I’ll get to the point: GNU (and FreeBSD) xargs has a -P for specifying the number of jobs to run in parallel!

Let’s rewrite that conversion loop to parallelize

mod2ogg() { 
	for arg; do xmp -d wav -o - "$arg" | oggenc -q 3 -o "ogg/$arg.ogg" -; done
}
export -f mod2ogg
find . -name '*.mod' -print0 | xargs -0 -n 1 -P 2 bash -c 'mod2ogg "$@"' -- 

And if we already had a mod2ogg script, similar to the function just defined, it would have been simpler:

find . -name '*.mod' -print0 | xargs -0 -n 1 -P 2 mod2ogg

Voila. Twice as fast, and you can just increase the -P with fancier hardware.

I also added -n 1 to xargs here, to ensure an even distribution of work. If the work units are so small that executing the command starts becoming a sizable portion of it, you can increase it to make xargs run mod2ogg with more files at a time (which is why it’s a loop in the example).

Incremental backups to untrusted hosts

There’s no point in encryption, passphrases, frequent updates, system hardening and retinal scans if all the data can be snapped up from the backup server. I’ve been looking for a proper backup system that can safely handle incremental backups to insecure locations, either my personal server or someone else’s.

This excludes a few of the common solutions:

  • Unencrypted backups with rsync. Prevents eavesdropping when done over ssh, but nothing else.
  • Rsync to encrypted partitions/images on the server. Protects against eavesdropping and theft, but not admins and root kits. Plus it requires root access on the server.
  • Uploading an encrypted tarball of all my stuff. Protects against everything, but since it’s not incremental, it’ll take forever.

My current best solution: An encrypted disk image on the server, mounted locally via sshfs and loop.

This protects data against anything that could happen on the server, while still allowing incremental backups. But is it efficient? No.

Here is a table of actual traffic when rsync uploads 120MB out of 40GB of files, to a 400gb partition.

Setup Downloaded (MB) Uploaded (MB)
ext2 580 580
ext3 540 1000
fsck 9000 300

Backups take about 15-20 minutes on my 10mbps connection, which is acceptable, even though it’s only a minute’s worth of actual data. To a box on my wired lan, it takes about 3 minutes.

Somewhat surprisingly, these numbers didn’t vary more than ±10MB with mount options like noatime,nodiratime,data=writeback,commit=3600. Even with the terrible fsck overhead, which is sure to grow worse over time as the fs fills up, ext2 seems to be the way to go, especially if your connection is asymmetric.

As for rsync/ssh compression, encryption kills it (unless you use ECB, which you don’t). File system compression would alleviate this, but ext2/ext3 unfortunately don’t have this implemented in vanilla Linux. And while restoring backups were 1:1 in transfer cost, which you’ve seen is comparatively excellent, compression would have cut several hours off of the restoration time.

It would be very interesting to try this on other FS, but there aren’t a lot of realistic choices. Reiser4 supports both encryption and compression. From the little I’ve gathered though, it encrypts on a file-by-file basis so all the file names are still there, which could leak information. And honestly, I’ve never trusted reiserfs with anything, neither before nor after you-know-what.

ZFS supposedly compresses for read/write speed to disk rather than for our obscure network scenario, and if I had to guess from the array of awesome features, the overhead is probably higher than ext2/3.

However, neither of these two FS have ubiquitous Linux support, which is a huge drawback when it comes to restoring.

So a bit more about how specifically you go about this:

To set it up:

#Create dirs and a 400gb image. It's non-sparse since we really
#don't want to run out of host disk space while writing.
mkdir -p ~/backup/sshfs ~/backup/crypto
ssh vidar@host mkdir -p /home/vidar/backup
ssh vidar@host dd of=/home/vidar/backup/diskimage \
        if=/dev/zero bs=1M count=400000

#We now have a blank disk image. Encrypt and format it.
sshfs -C vidar@host:/home/vidar/backup ~/backup/sshfs
losetup /dev/loop7 ~/backup/sshfs/diskimage
cryptsetup luksFormat /dev/loop7
cryptsetup luksOpen /dev/loop7 backup
mke2fs /dev/mapper/backup

#We now have a formatted disk image. Sew it up.
cryptsetup luksClose backup
losetup -d /dev/loop7
umount ~/backup

To back up:

sshfs -C vidar@host:/home/vidar/backup ~/backup/sshfs
losetup /dev/loop7 ~/backup/sshfs/diskimage
cryptsetup luksOpen /dev/loop7 backup
mount /dev/mapper/backup ~/backup/crypto

NOW=$(date +%Y%m%d-%H%M)
for THEN in ~/backup/crypto/2*; do true; done #beware y3k!
echo "Starting Incremental backup from $THEN to $NOW..."
rsync -xav --whole-file --link-dest="$THEN" ~ ~/backup/crypto/"$NOW"

umount ~/backup/crypto
cryptsetup luksClose backup
losetup -d /dev/loop7
umount ~/backup/sshfs

If you know of a way to do secure backups with less overhead, feel free to post a comment!

dd is not a backup tool!

Pretty much all Linux newbies will at some point be dazzled by the amazing powers of dd, and consider using it for backups. DON’T! Allow me to elaborate:

  1. dd must be run on an unmounted device. The point of using dd is usually to get a snapshot, but it’s not a snapshot if the system keeps running and modifying the FS while it’s being copied! The “snapshot” will be a random collection of all the states that the data and metadata were in during the 30+ minutes it took to copy.
  2. It’s hard to restore on a file by file basis. You hardly ever want to restore everything, usually you just want one file or directory that was accidentally deleted, or all files except the ones you’ve been working on since the backup was taken.
  3. It’s hard to restore to new hardware. If you suffer a massive disk crash, you will indeed want to restore everything. If you’re restoring to the same size disk, and you don’t decide that you want less swap or a bigger root partition while you’re at it, you can now easily restore and thank the gods that most FS don’t rely on disk geometry anymore. If you try to restore to a smaller disk on a secondary/old computer, you’re just screwed. If you upgrade to a larger disk (by far the most likely scenario), you’ll be playing the partition shuffle for a while to get use of the new space.
  4. It’s highly system dependent, and requires root to extract files. You can’t use your mum’s Wintendo or even your school’s Linux boxes to get out that geography report. And if you’re sick of Linux after it botched your system, you can’t switch to FreeBSD or OSX.
  5. You can’t do incremental backups. You can’t properly back up just the information that has changed. This all but kills network backups, and dramatically reduces the number of snapshots you can keep.

So when is dd a decent choice for backups?

Take a snapshot of a new laptop that doesn’t come with restoration disks, so that you can restore it if you sell the laptop to a non-geek or if the laptop needs servicing (it’ll make life easier for clueless techies, and companies have been known to use Linux as an excuse for not covering hardware repairs).

Create a disk image right before you try something major that you want to be able to reverse, such as upgrading to the latest Ubuntu beta to see if the new video driver works better with your card. Or right before installing Puppy Linux to write a little review about it. Restoring the image will be easier than downgrading/reinstalling, and you won’t have done any work in the mean time.

Image a computer and teach the kids how to install an operating system in a realistic scenario.

Visualization fun with GStreamer

I have a Mini-ITX box connected to my TV. It worked very well on my old CRT TV, but now I have a Full HD TV. It went from 720×576 to 1920×1080: five times the pixel count (exactly!), or over 100MB/s (bytes, not bits of course) of raw video. It’s not all that much, but it’s way more than what the Mini-ITX can handle. With the magic of graphics hardware, however, it can show lower resolutions scaled up to 1920×1080 without breaking a sweat.

I had a lot of issues trying to get some music visualization running on it. There’s no way the poor thing can generate 1920×1080 pixels worth of visualization, let alone push it out to the TV. libvisual, the closest thing to a visualization standard there is, didn’t appear to have simple command line apps that you could point to a music file and hardware scale the visualizations to fullscreen.

There was projectM though, which has a clever system of capturing audio from the Pulse audio system and visualizing it with OpenGL scaling. That way you can use any music playing app you want, at any resolution you care to render and display. Unfortunately, the Openchrome drivers for the VIA hardware and the Qt OpenGL component really hated each other.

But hey, we have GStreamer!

gst-launch-0.10 pulsesrc device=alsa_output.hw_0.monitor ! queue ! audioconvert ! libvisual_infinite ! video/x-raw-rgb,width=640,height=360,framerate=25/1 ! ffmpegcolorspace ! queue ! xvimagesink

Grab audio from the pulse monitor device, run it through libvisual to get a visualization at the specified resolution, and show it through xvideo. All my requirements summed up in about two lines of gstreamer goodness!

Webcam fun with GStreamer

I have yet to find a proper linux tool for recording video from a webcam while showing it on screen at the same time. The typical hack is to use mencoder to encode, and mplayer to play the encoded file, but the latency is typically a full second or more:

{ tail --follow=name -n +0 --retry "lulz.avi" | mplayer -cache 320 -vo x11 -; killall -INT mencoder; } & mencoder tv:// -tv width=640:height=480:fps=15 -ovc lavc -o lulz.avi

GStreamer does to video/audio what Bash does to text and NetPBM does to images, and it’s just as brilliant (possibly more). So let’s instead use it instead:

gst-launch-0.10 v4l2src ! tee name=videoout ! queue ! videorate ! video/x-raw-yuv,fps=15 ! queue ! theoraenc quality=60 ! queue ! muxout. pulsesrc ! audio/x-raw-int,rate=22000,channels=1,width=16 ! queue ! audioconvert ! vorbisenc ! queue ! muxout. oggmux name=muxout ! filesink location=lulz.ogg videoout. ! queue ! ffmpegcolorspace ! ximagesink

Voila. While long and seemingly convoluted, it’s not really worse than the mplayer line, and it works a lot better.

While a gst pipeline looks scary to begin with, it’s really self explanatory when you start reading it. Still, I’ll do a little dance about it:

#Get a v4l2 video source, split it and put one end though a 
#theora codec and send the other to videoout (defined later)
v4l2src ! tee name=videoout ! queue ! videorate ! video/x-raw-yuv,fps=15 \
        ! queue  ! theoraenc quality=60 ! queue ! muxout.   

#Get audio from a pulseaudio stream, run it through the vorbis encoder
pulsesrc ! audio/x-raw-int,rate=22000,channels=1,width=16 \
         ! queue ! audioconvert ! vorbisenc ! queue !muxout.  

#Mux the audio and video together, and put it in "media.ogg"
oggmux name=muxout ! filesink location=media.ogg  

#Put the other end of the video split out on the screen
videoout. ! queue ! ffmpegcolorspace ! ximagesink

Easy to see why this is one of my new favourite toys.